
Tutorial #3
Working With Labels
This tutorial will show several different way to work with labels.
Note: This tutorial was written using v3.7.3 of Metes and Bounds. If you are using a different version, your screenshots may look slightly different. But the basic functionality should be the same. Also, this tutorial assumes that are using a registered Pro version. If you are using the Basic or Unregistered version, not all of these features will be available.
How to label a layer:
Start by creating a new drawing. This tutorial will use the same legal description
used in Tutorial 1 and Tutorial 2.
Enter in the above legal description. Note the missing degree in the first and forth calls. Set the scale to approximately 1"=185'.
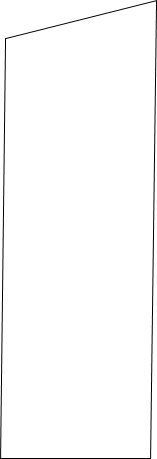
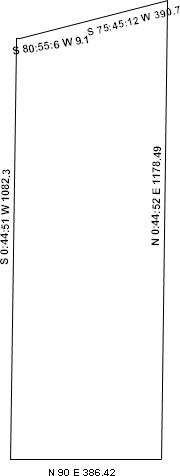
The drawing should now look like this:
The easiest way to add call labels to the lines is to press the Captions button on the Layer tab and use the Layer Captions and Labels form.

Check the Show Calls checkbox and the In-Line checkbox.
If the drawings scale is set to 1"=185' then the drawing should look like this:
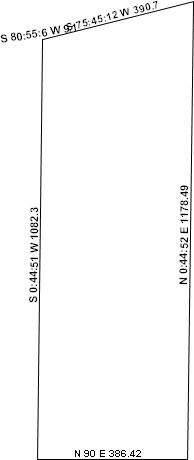
You will notice that the labels for the 2nd and 3rd calls overlap each other.
One way to fix this overlap is to change the scale of the drawing. However, this isn't always a viable solution. This tutorial will now show how to use custom labeling to fix this issue.
First, uncheck the Show Calls checkbox that you checked earlier. Leave the In-Line box checked. The In-Line checkbox is used by the Create Points option mentioned below.
Next, open up the X,Y Waypoints form.
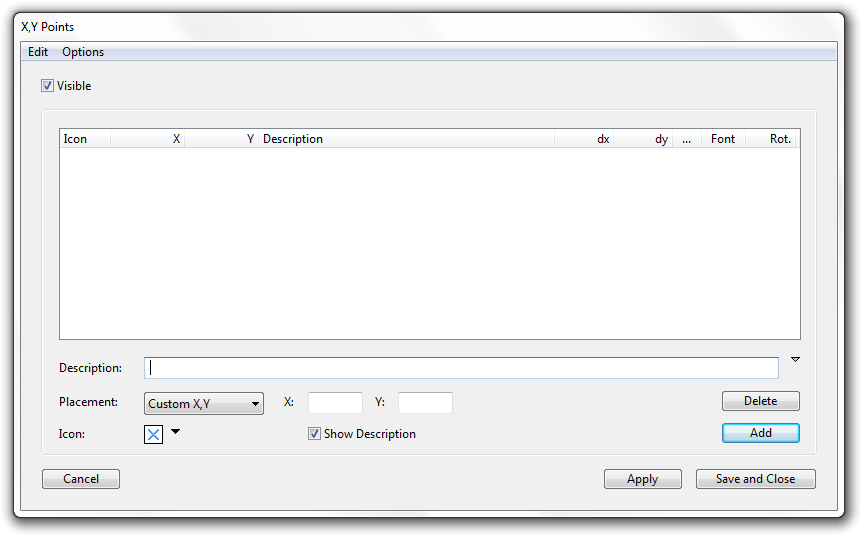
The X,Y Waypoints form can be used for marking various types of points on the drawing, but it can also be used to create custom labels.
Creating a custom label for each call could be very time consuming. Fortunately, Metes and Bounds offers a number of automatic labeling options.
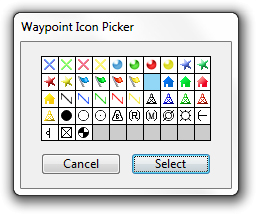
Start by picking the icon that will be used when creating the custom labels. Since custom labels don't need an icon click on the blue X icon and choose the blank icon instead.
Now, from the Options menu, choose Create Points From Line Midpoints With Calls. This will create an x,y point at the center of each line and use the call for each points description. The drawing should now look like this:
These labels look very similar to the automatic labels. However, unlike the automatic labels, these labels can be moved using the mouse.
Use the mouse to move the labels into usable locations. The drawing should now look something like this:
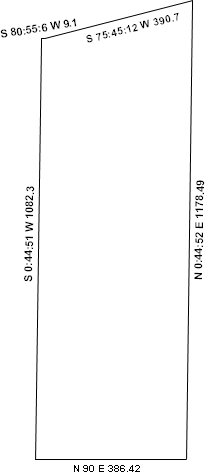
The lines are now labeled with none of the labels overlapping each other.
Additional Labeling Options:
Now lets give the first call an additional label. This could be done using the same X,Y Waypoints as shown above. But each call can also be given its own label.
Right-Click on the first call. This will bring up a popup menu.
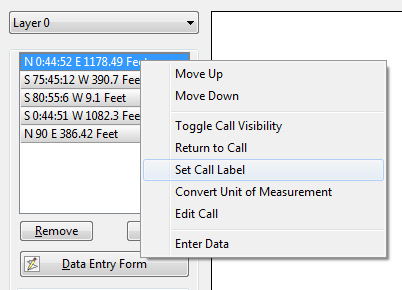
Choose the Set Call Label menu. This will bring up the Call Label form.
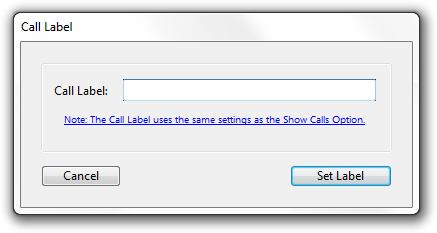
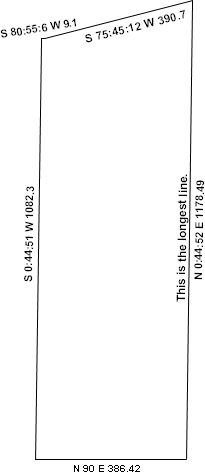
Enter in a label such as "This is the longest line."
The drawing should now look something like this:
If the first lines custom label is overlapping the new label call, use the mouse to move the custom label away from the new call label.
Sometimes you need to have additional labels that aren't directly related to a call or line. Again, you could use the X,Y Points form, but there is an easier way to create a custom label than that. Open the Layer Captions and Labels form again. This time choose the Labels tab.
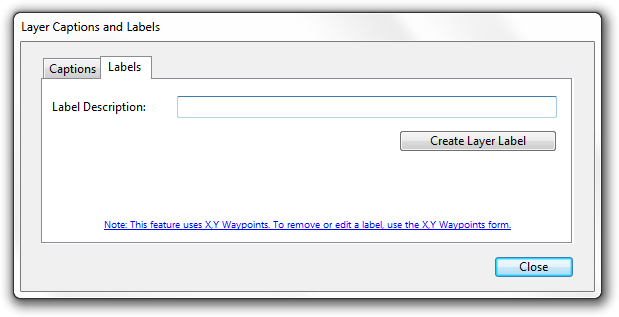
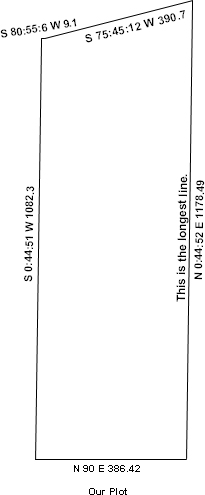
Enter something like "Our Plot" and press the Create Layer Label.
Now move the label to the bottom of the drawing. When you move this
label, make sure to grab the grey handle instead of just moving the label text.
This will ensure that the label stay where you placed it if the drawings scale
changes.

The drawing should now look like this:
Text Blocks: Another form of labeling is the floating text block. The floating text block is not tied to any layer and will not move when the scale is changed. These text blocks allow you to enter multiple sentences.
On the Drawing Tab, press the Labels and Text button. On the Drawing Label and Text Manager form click on the Edit Floating Text Blocks button. You will notice that there are several other labeling options on the Drawing Label and Text Manager form. These options can be used, but their functionality has mostly been replaced by the other labeling methods described in this tutorial. These options remain here for backwards compatibility with older drawing files.
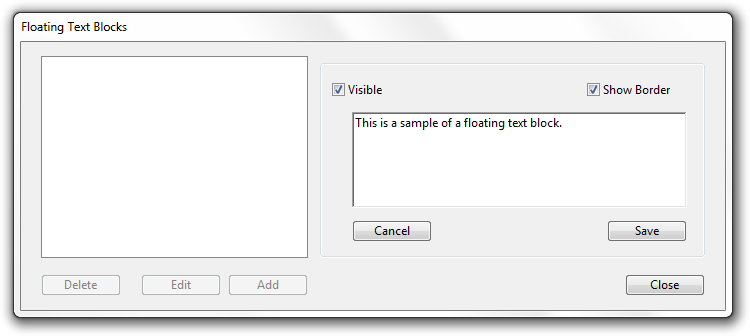
Click the Add button. Enter a message to display on the drawing and then press the Save button. Press the Close button when finished. You should now see a small block containing the text that you entered. You can move it and resize it using the mouse.
The drawing should now look something like this:

You should now be familiar with many of the labeling options that are available in Metes and Bounds.