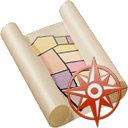
- Toolbar
- The toolbar contains shortcuts for many of the most commonly used functions. The toolbar can be customized in the Preferences.
- Data Entry
- The data entry area is where data is entered. You can enter calls directly into the entry field and press the Add button. You can also press the Data Entry Form button to open a window for entering more complex calls.
- Drawing Area
- This is where your calls will be drawn. You can move most objects around the drawing area using the mouse. Many objects can be edited by right-clicking on them in the drawing area.
- Drawing and Layer Settings
- This is where you can adjust drawing settings such as scale, background pictures, line/fill colors and labeling. The Drawing tab adjusts settings for the entire drawing. The Layer tab adjusts settings for the currently selected layer. You can select layers by right-clicking on them in the drawing area, or by choosing them from the layer popup menu in the data entry area.
Entering a Plot Description:

1. Start with a new drawing. You can create a new drawing by choosing New Drawing from the File menu.
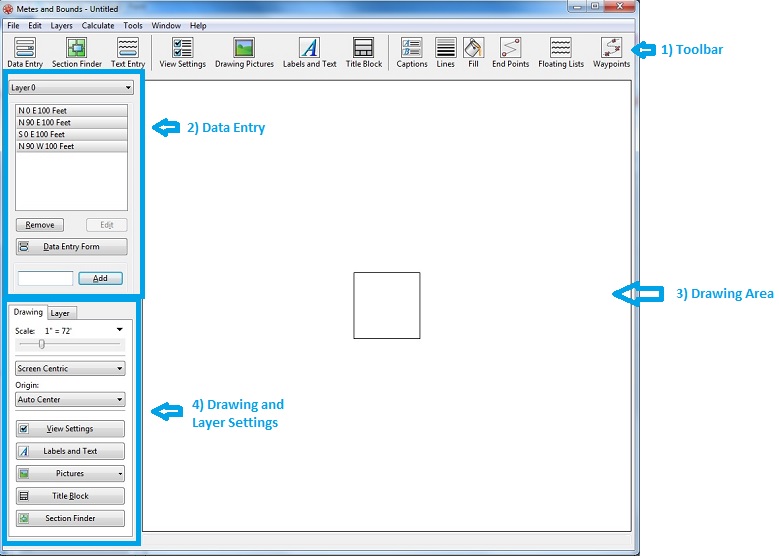
2. Press the Data Entry Form button in the data entry area.
3. The first call is North 0 degrees, 40 minutes and 15 seconds, East, for 1213 feet. Watch carefully, because the call appears to be 40 degrees, but isn't, it is 40 minutes. Press the Add Line button to enter the call.
4. Continue entering the calls as described in the plot description. Keep an eye out for additional calls that do not include a written degree.
5. Once all of the calls have been entered, press the Done or Cancel button to close the Data Entry Form.
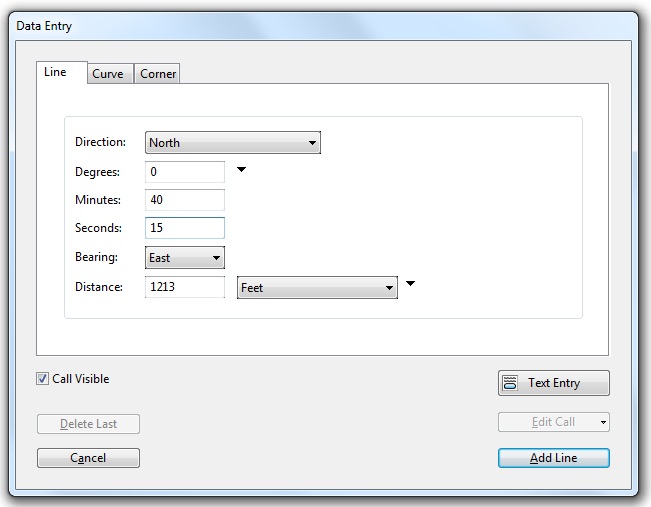
6. At this point, depending on the size of your screen, you probably won't be able to see the entire plot in the drawing area. To see the entire drawing adjust the Scale slider on the Drawing tab in the Drawing and Layer Settings area. You can also change the drawing's scale by clicking on the popup menu triangle next to the scale slider. Try selecting a scale such as 1"=330'. Your drawing should now look like this:
Additional tutorials, which cover many of the most commonly asked questions, can be found under the Help menu of Metes and Bounds.